Open Your Salesforce DX Project in VS Code
Visual Studio Code, or VS Code as it’s often called, is a lightweight, extensible, open source code editor primarily supported by Microsoft. Salesforce has created a set of Extensions for VS Code that make it possible to develop against Salesforce orgs using Salesforce DX.
In this exercise, you will…
- Launch Visual Studio Code (VS Code)
- Make sure you’ve installed the Salesforce Extensions for VS Code
- Open your Salesforce DX project folder in VS Code
Launch Visual Studio Code (VS Code)
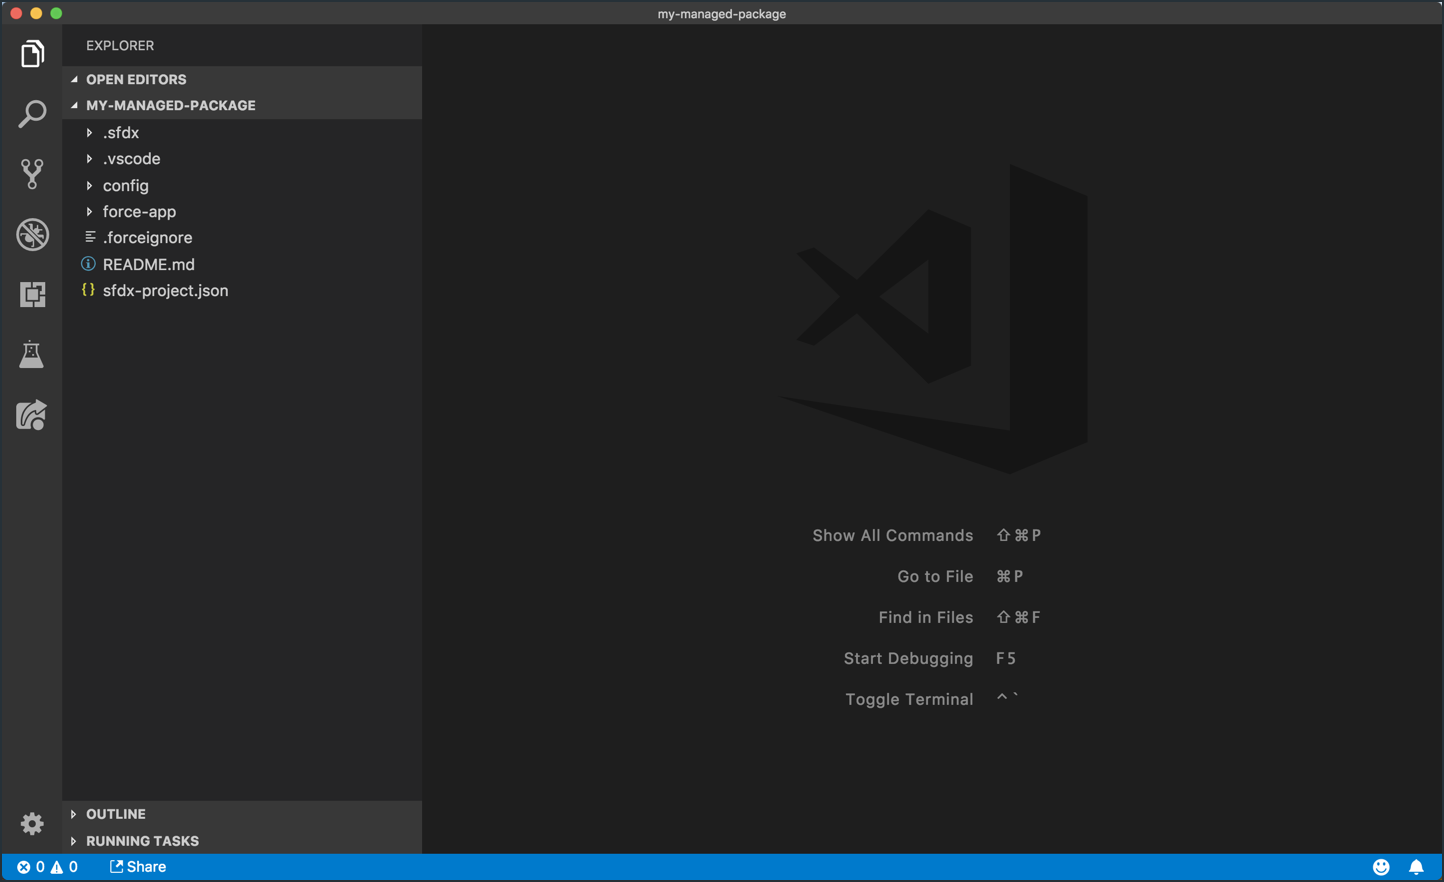
Find and open the Visual Studio Code app on your computer. When you do, you should see something very similar to the screen below.
Make sure you’ve installed the Salesforce Extensions for VS Code
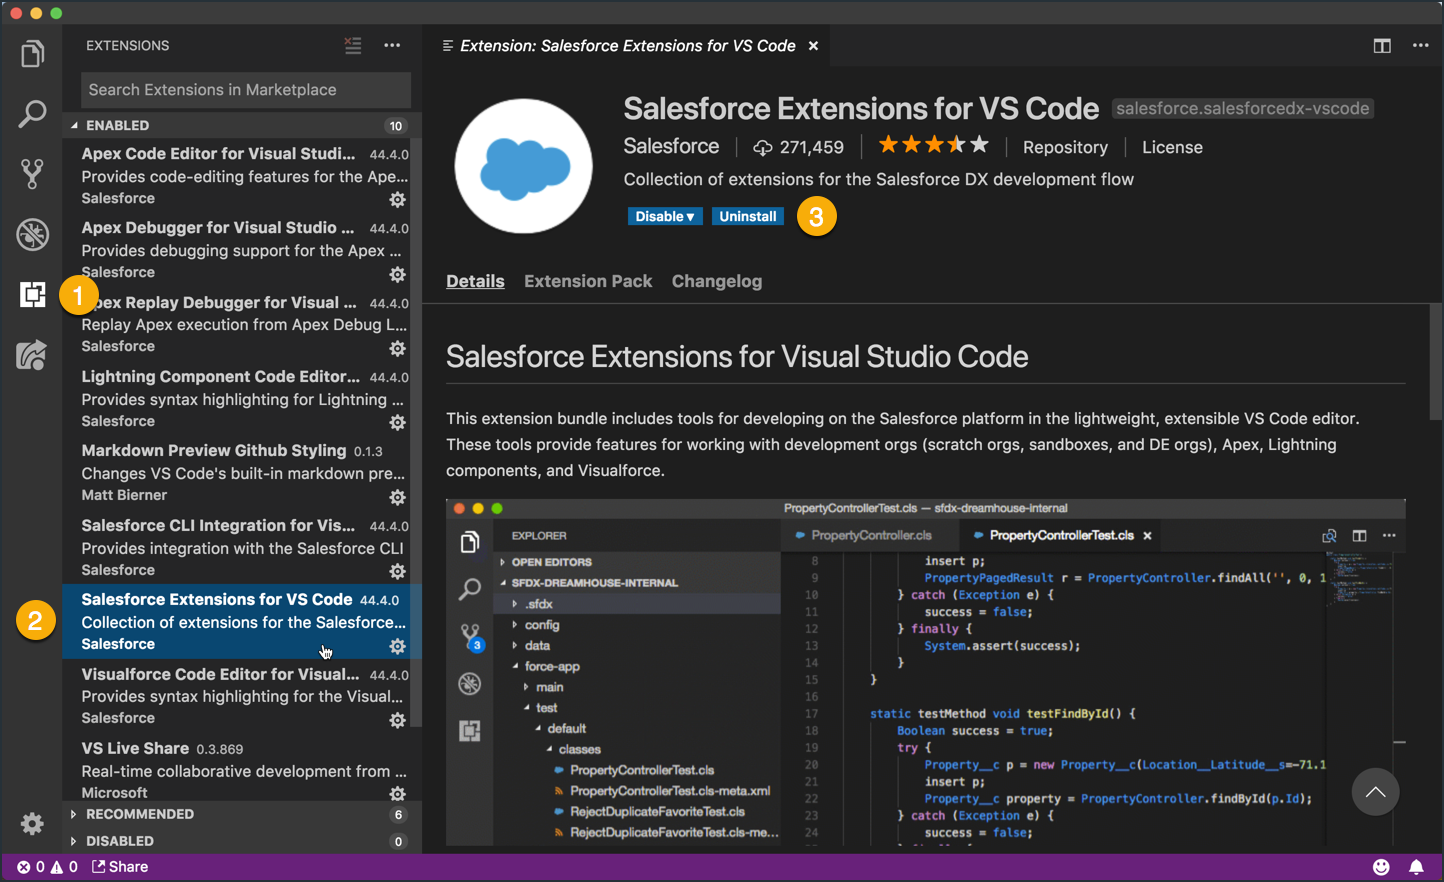
You’ll want to make sure that you’ve installed the Salesforce Extensions for VS Code. To do this, follow these steps in the VS Code application window.
- Click on the Extensions icon. That should open a list of Enabled Extensions
- Search the list of Enabled Extensions for one named Salesforce Extensions for VS Code and click on it
- In the page that opens up on the right side of VS Code, you’ll see details about the extension
Open your Salesforce DX project folder in VS Code
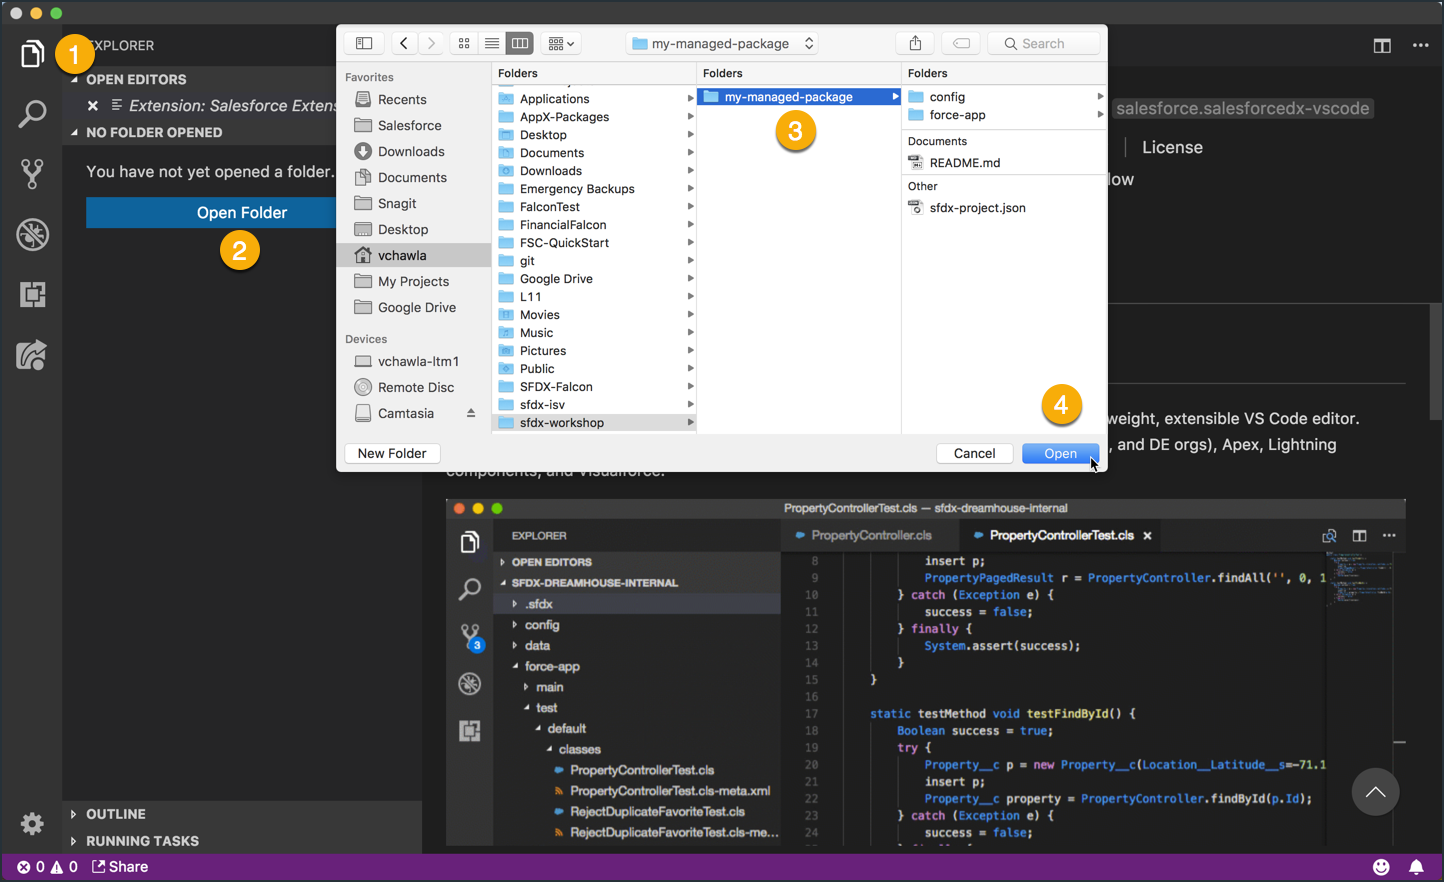
VS Code works by opening folders on your computer and treating the contents as a self-contained project. Open your my-managed-package project by following these steps.
- Click on the Explorer icon at the top left of the screen.
- Click on the Open Folder button.
- In the window that pops up, find the
my-managed-packagefolder. It should be inside your home directory, in thesfdx-workshopfolder. - Click the Open button to continue.
After openting your SFDX project folder, VS Code should now look something like this: